Date: Tue, 18 Dec 2001 16:55:36 -0500
Please post these pics for John Ross, VROC #6102
Thanks!
"Ez"
VROC#288
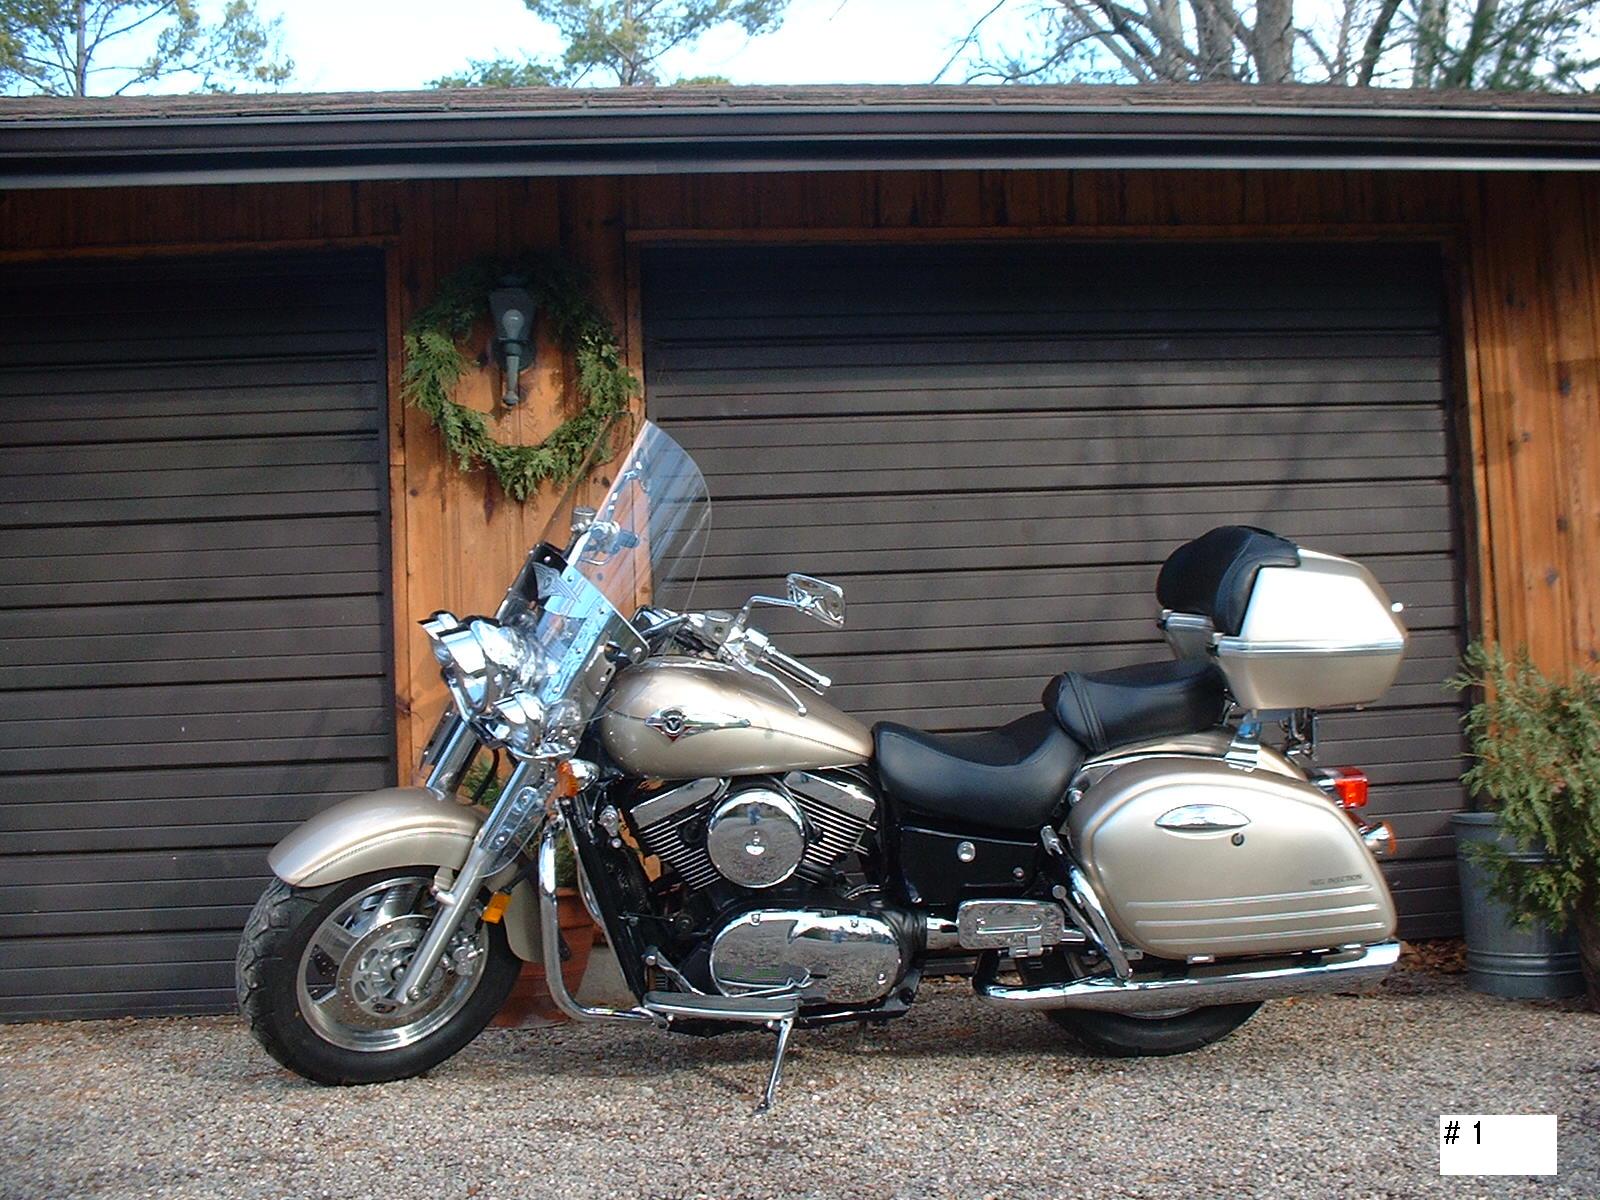
I'm submitting 5 pictures so you can see how the trunk was converted to fit
the Nomad.
They are pretty well self explanatory. Picture # 1 is the trunk on the bike.
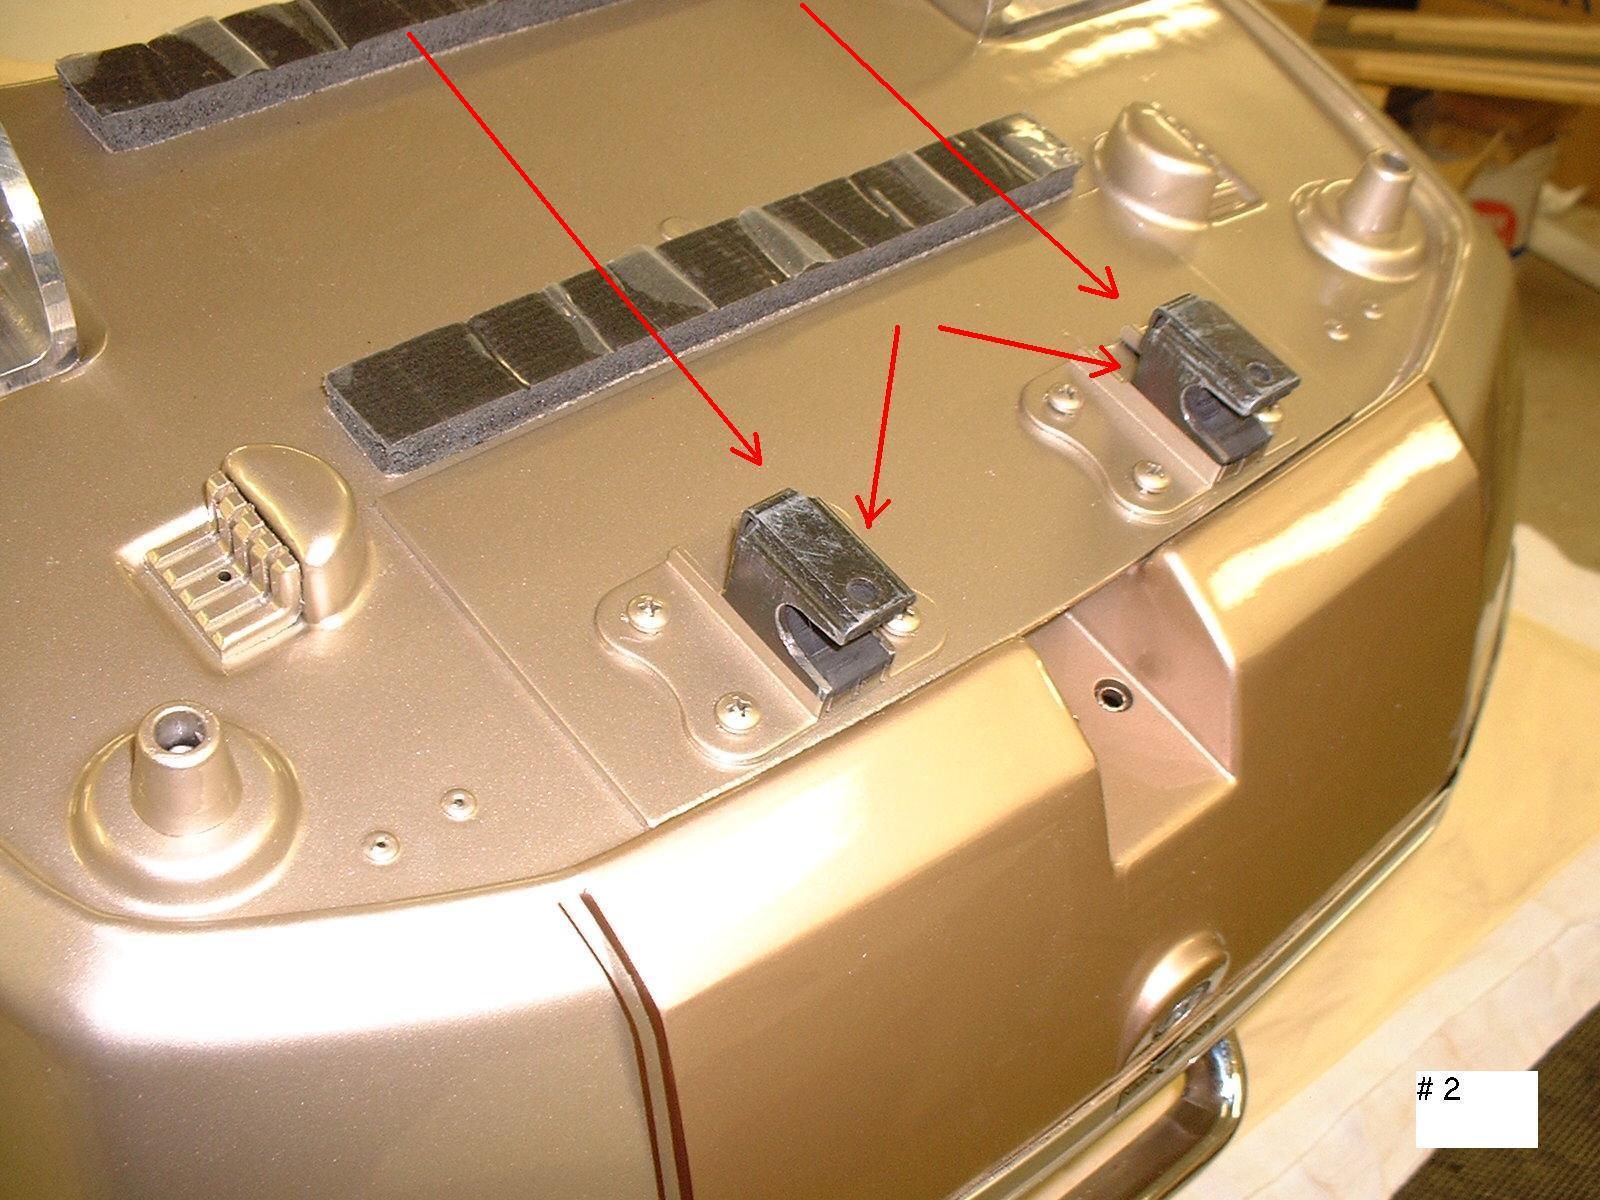
1 Reverse the two hooks and put them at the back of the trunk aiming
towards the back and space them so they will fit between the rungs of your
carrier. ( you will have to trim the rubber grommets, make them a tad
larger. ) Picture # 2
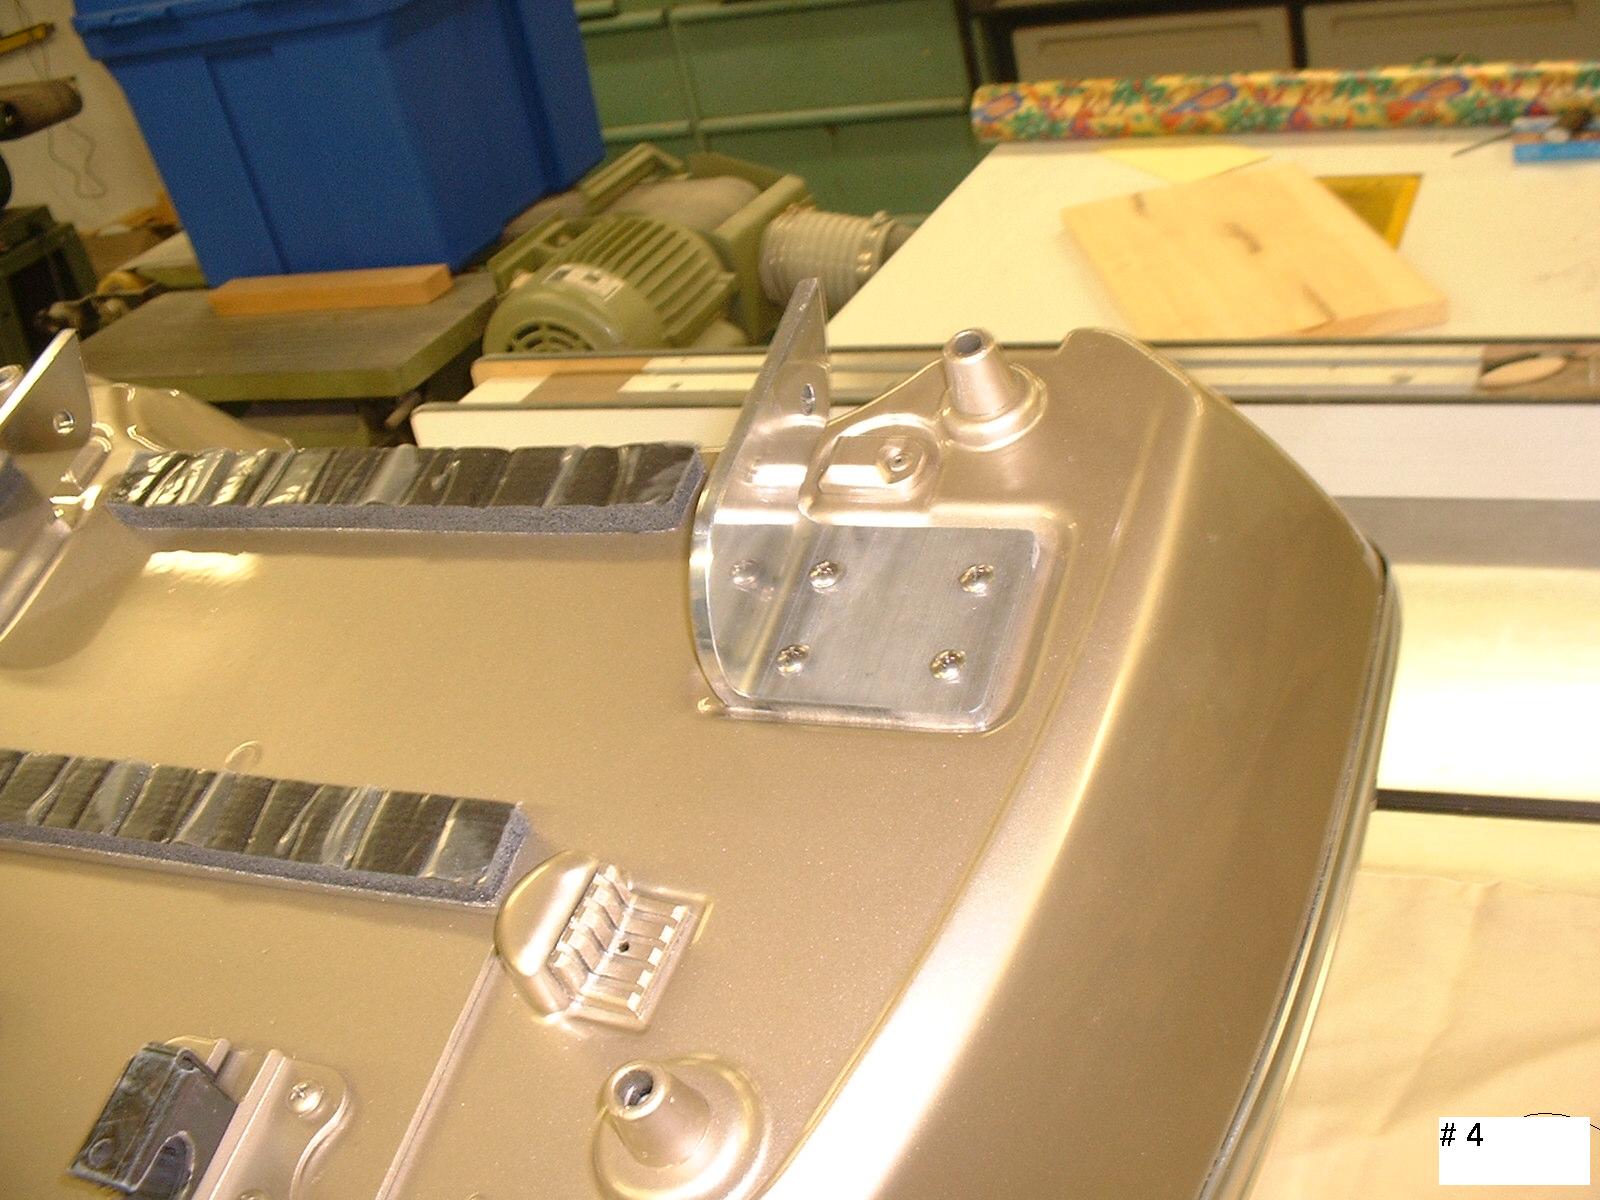
2 Angle brackets will bolt to your bottom aiming towards your pillion
bracket. Leave them long until you mount it and line up with the upper
pillion holes on each side then drill a matching hole for a quick release
pin to go into. Picture # 3 and # 4
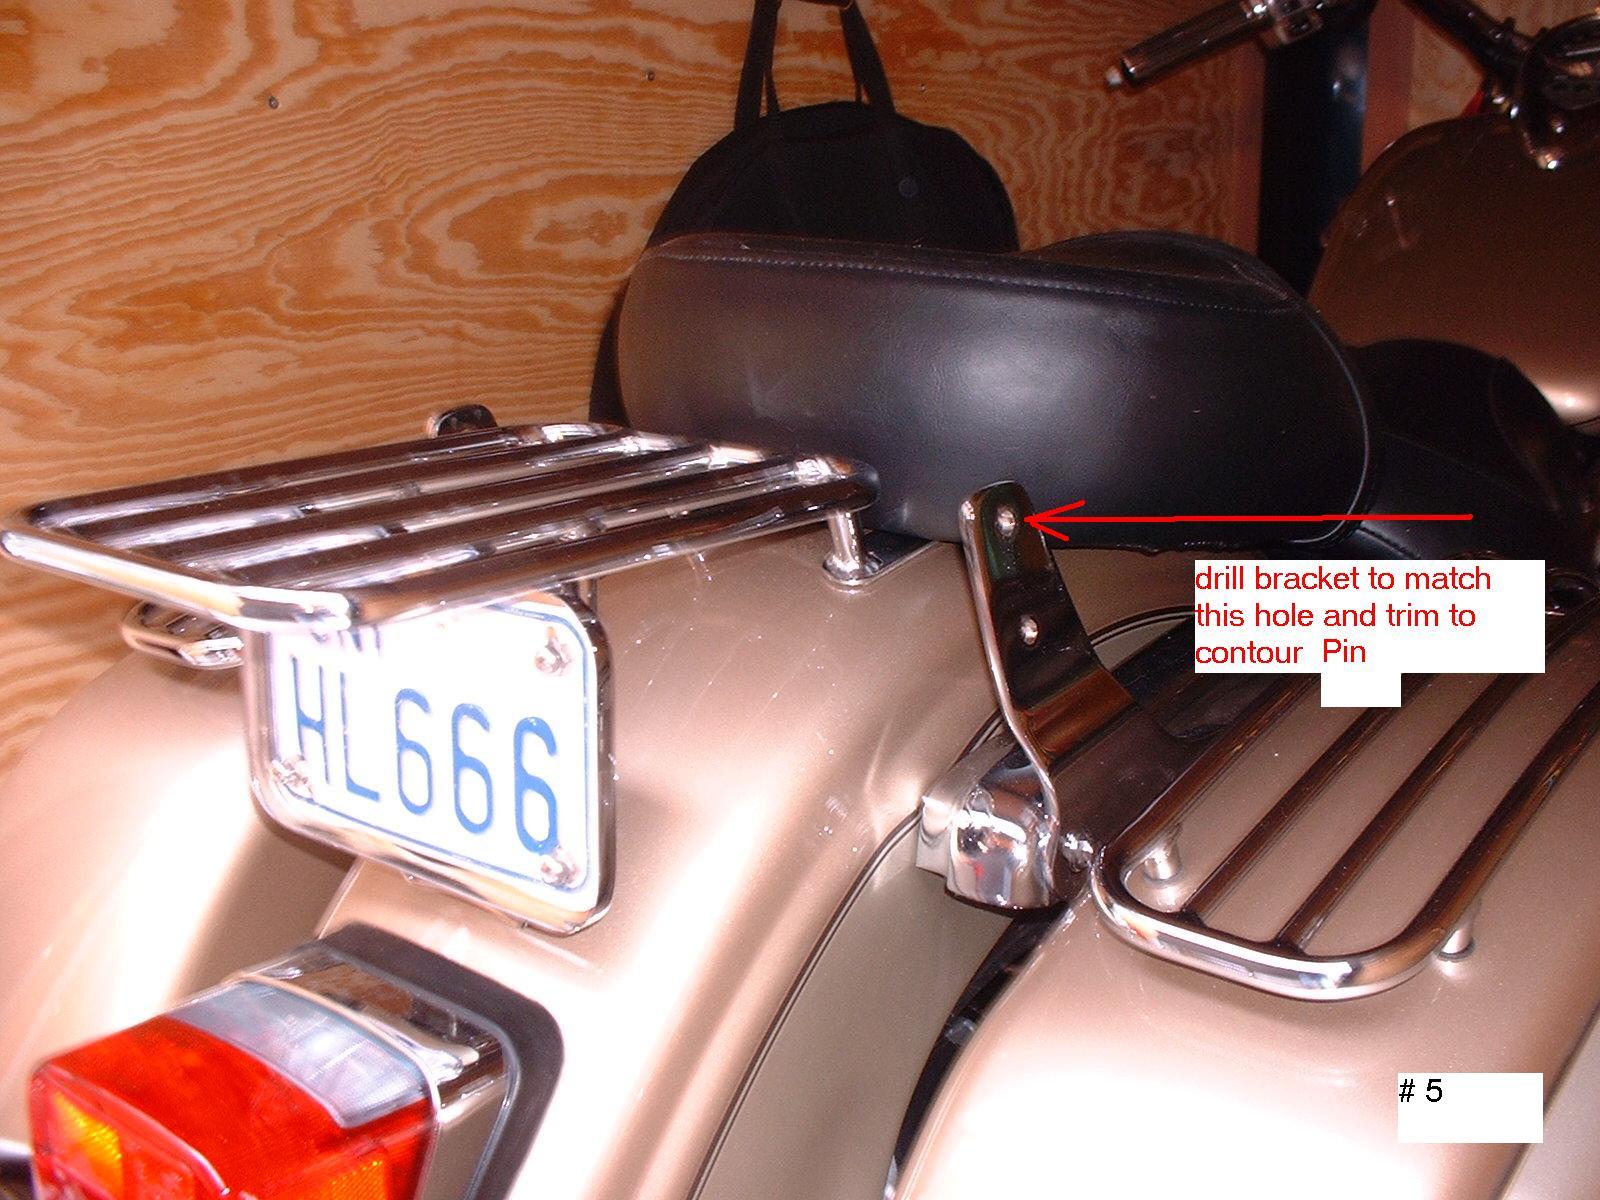
3 Trim the tail to match the contour of your pillion bracket then polish.
Picture # 5
4 Put 2 strips of door seal 1/2 in. on the bottom to ride on your carrier.
( self sticking )
Enclosed are 6 pictures as a guide.
John Ross
VROC# 6102
Bike photos 001.jpg
Bike photos 006.jpg
Bike photos 007.jpg
Bike photos 009.jpg
Bike photos 010.jpg